First of all, the information about the building process and the installation of Mozart 2 is described in the following website: Mozart 2
In this page, we help you to install Mozart 2 on three different OS (Windows 7/Windows 8, MacOS 10.8/10.9 and Linux) and a virtual system version to be used with VirtualBox. This is the recommended way of using mozart.
VIRTUALBOX
We encourage you to use Mozart with virtual system and VirtualBox. The reason is that all dependancies have already been installed and the set up is therefore very easy while the image size is still very small.
Step 1 : Download and install VirtualBox on the official website or download the portable version (Windows only) we made for you.
Step 2 : Launch VirtualBox.
Step 3 : Download the Mozart image system and import it in VirtualBox (File -> Import Appliance).
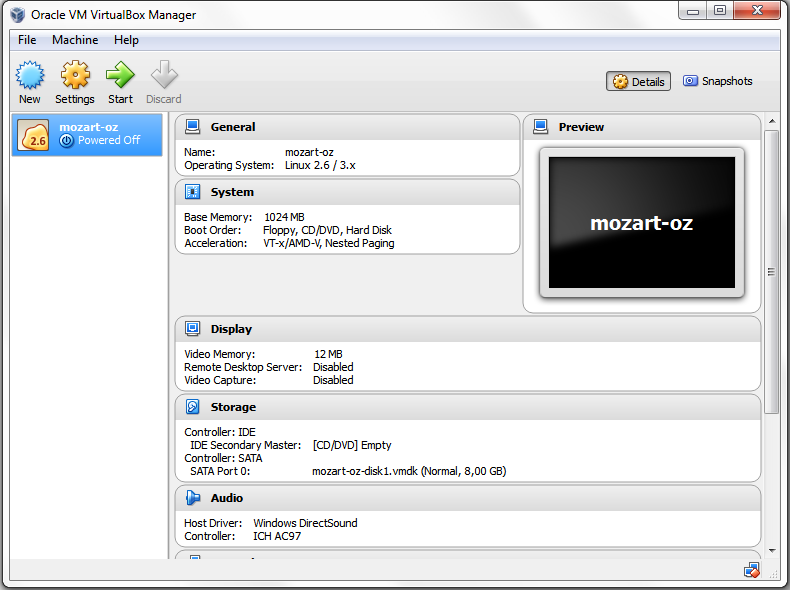
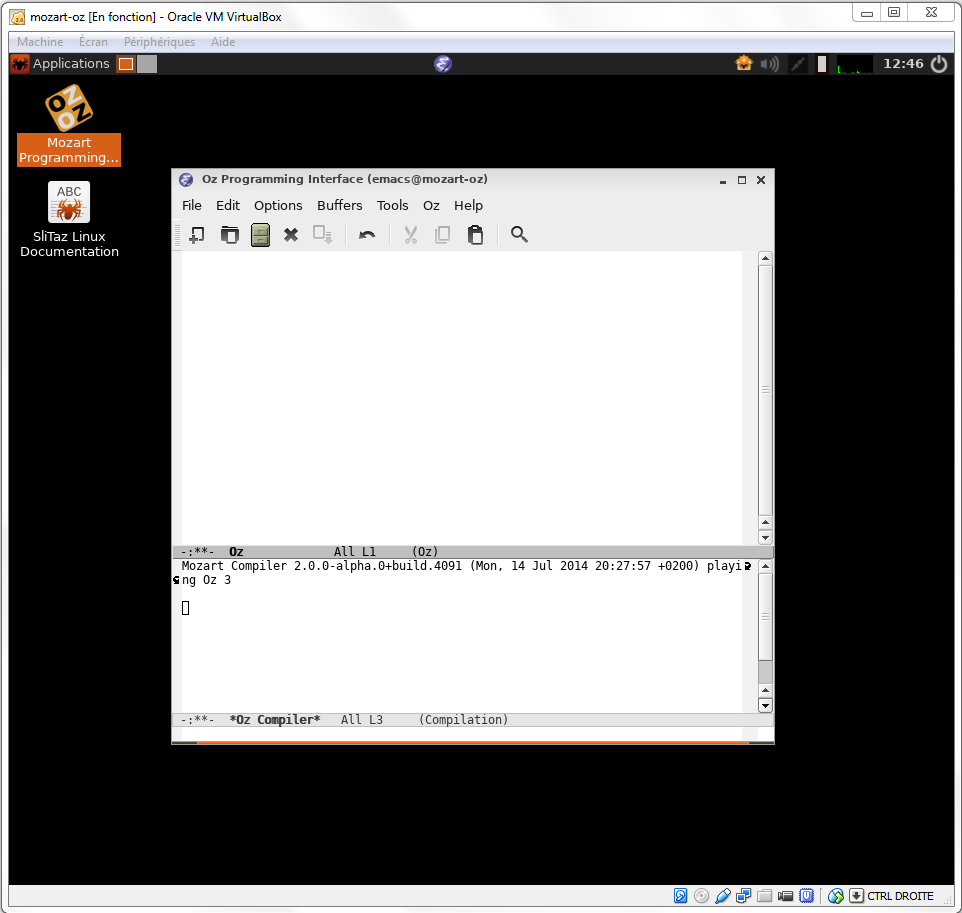
Step 4 : Start the virtual machine.
Step 5 : Double-click on the Mozart shortcut to launch mozart.
Note : The VirtualBoxGuestAdditions have been pre-installed on the virtual machine, to share file with your host system (and save your oz files in your host machine), you need to setup a shared folder :
We did most of the job for you. The shared folder in the virtual machine is located in /mnt/host_folder. All you've left to do is to create a folder in your host machine and set it up in VirtualBox to link the two folders.
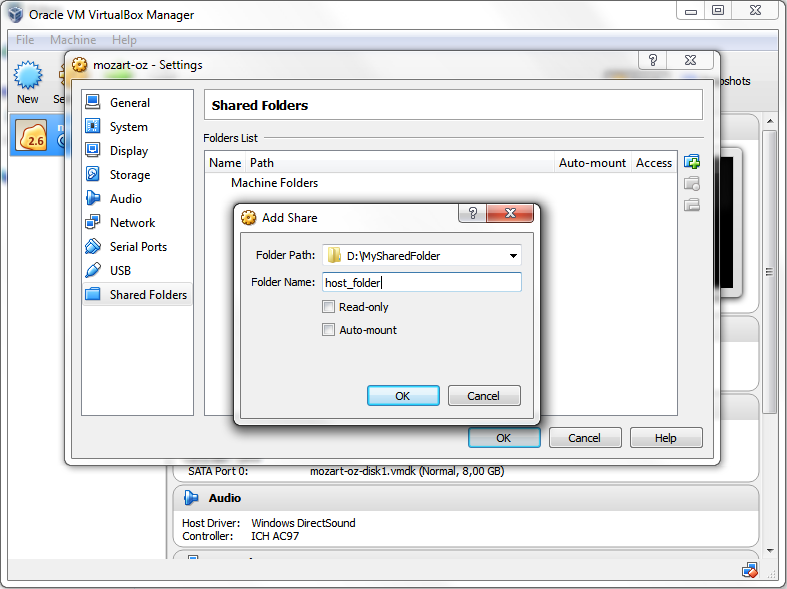
Shutdown your virtual machine. Click on the mozart-oz machine, Right-Click -> Settings -> Shared Folders -> Add in VirtualBox.
Choose a folder in your host system (click on the drop-down menu near "Folder path" and click "Other") and "host_folder" under "Folder name". Then click Ok.
Run your virtual machine and that's it ! You can save any file to /mnt/host_folder and it will appear in your designated folder in the host machine.
A few advices :
You can find a textual version of the tutorial bellow. Here are a few advices, however, to help you use the virtual image easily.
- By default, the virtual image features a qwerty keyboard, because it's the one most of you probably use. If you want to change the keyboard layout however, you can do it using the command "setxkbmap". For example, go to Applications -> Sakura Terminal -> type setxkbmap be (for a belgian azerty keyboard). To make this change permanent, you can launch automatically the command at the virtual machine's startup. To do so, edit $HOME/.profile (go to PCMan File Manager, hit ctrl+h to show hidden files, then open ".profile" ) and add the command at the end of the file.
- By default, 1024MB of RAM memory are allocated for the virtual machine (You can change this setting under Right-click -> Settings -> System). In practice however, it requires less and it is advised to have at least 200~300 MB of free memory to run it. If you have less, try installing mozart directly to your machine with the methods bellow.
MacOS 10.8/10.9
First, get the last Mozart 2 build for your system: Builds on SourceForge, and install it (you juste have to drop it in a folder such as the Application folder).
Then, please download and install Aquamacs or any other version of Emacs for MacOS.
Click on the Mozart.app icon (by default, you have dropped it in the Application folder) to run Mozart.
Linux
The installation process may vary from one distribution to another. In this tutorial, we will show how to install Mozart on an Ubuntu system in both graphical and command line style.
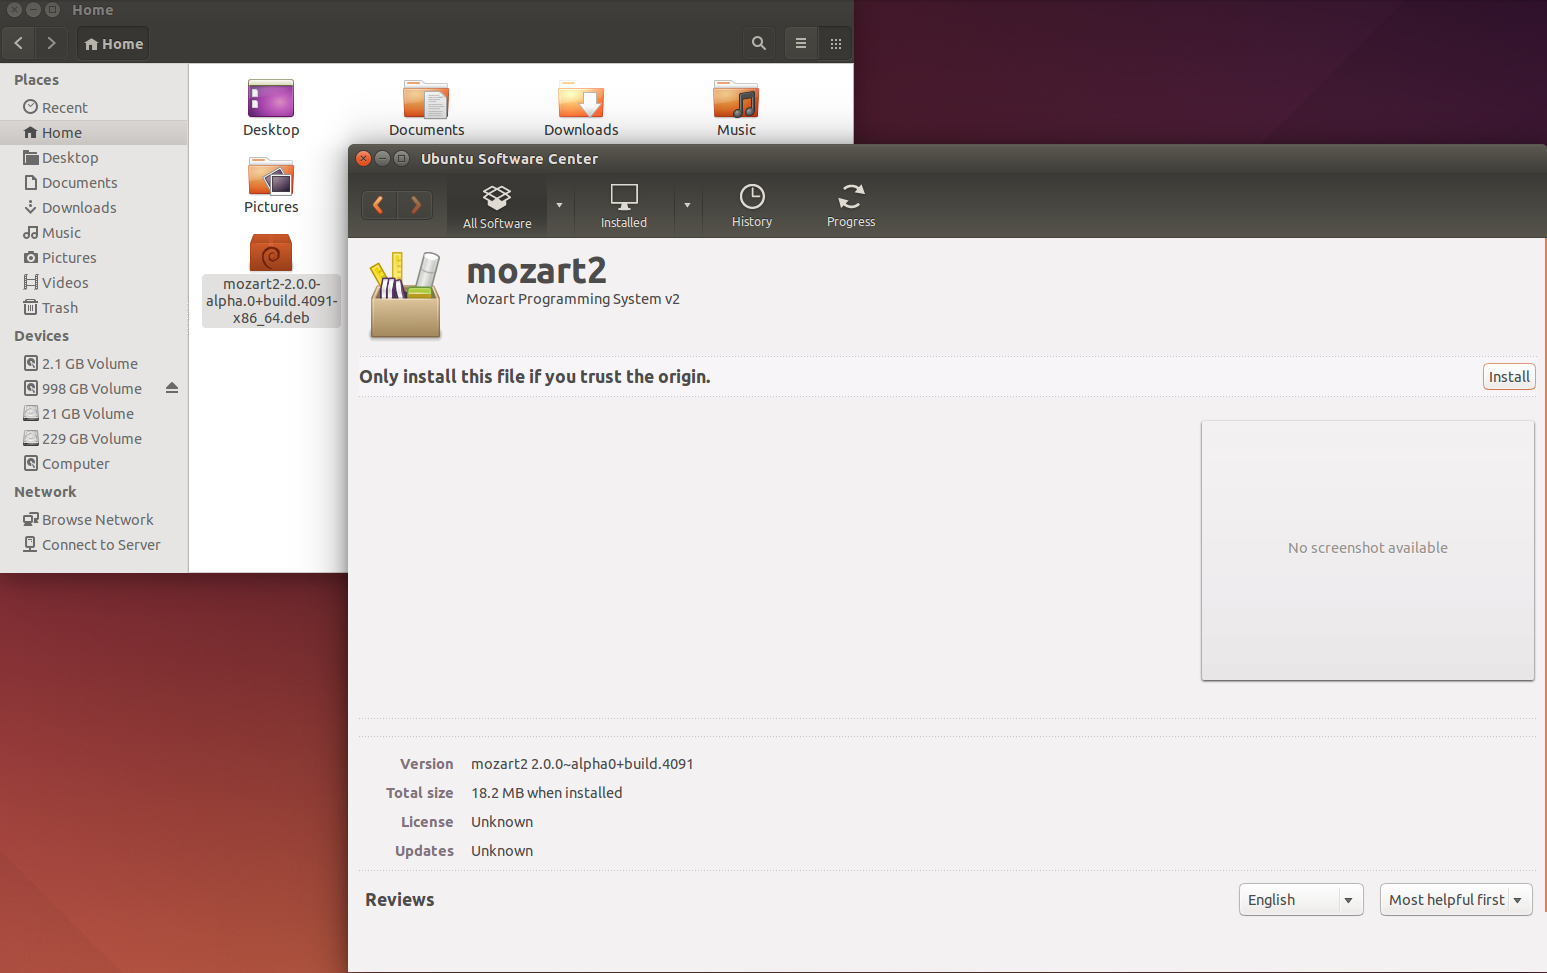
Graphical
Just download the installation file, run it (Software Center will show up), and click install. All dependencies are automatically installed.
Command line
Needed: tcl/tk, emacs and Mozart 2.
You should download the file corresponding to your distribution of Linux. When installing from command line, all dependencies are not installed automatically (depending of your software installer). We show bellow the traditionnal installation steps for Ubuntu.
Step 1 : Download the .deb binaries and try to install with command prompt : sudo dpkg -i mozart2-2.0.0-alpha.0+build.4091-x86_64.deb
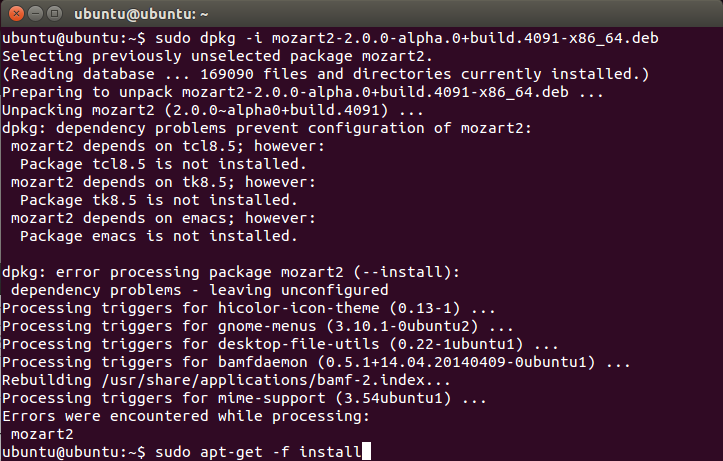
Step 2 : Ignore the errors and immediatly run sudo apt-get -f install to install missing dependencies that have been spotted in the provious step. The detection of required dependencies is automatic.
Step 3 : Run again the command from step 1.
Note : Before anything, make sure that you didn't forget to make the downloaded file executable (chmod +x)
WINDOWS 7 AND WINDOWS 8
The installation procedure is quite the same for the two versions of Windows.
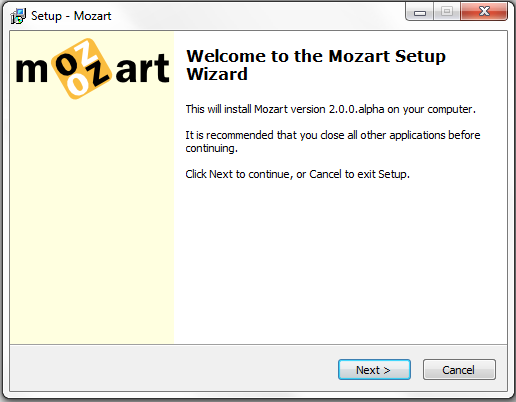
Step 1: Download Mozart (for Windows), and run the installer.
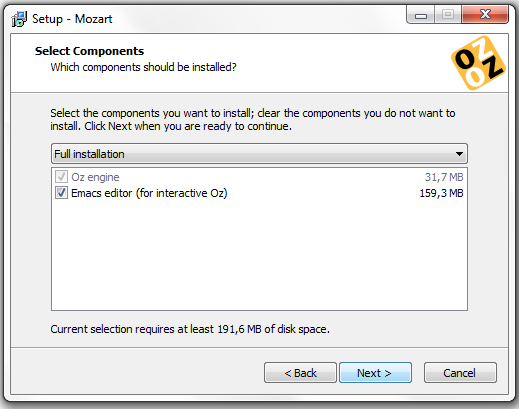
Step 2: Follow the steps of the installer at your convenience and don't forget to check emacs in the component if you don't already have emacs installed in your computer.
Note : If emacs is already installed on your computer, you need to add the OZEMACS environnement manually. To do so, go to Control Panel > System and Security > System > Advanced System Settings > Environment Variables, press the "New" button and fill "Variable Name" with "OZEMACS" and "Variable Value" with the path to the Emacs executable, for instance: "C:\emacs\bin\emacs.exe".
Step 3 : Complete the installation.
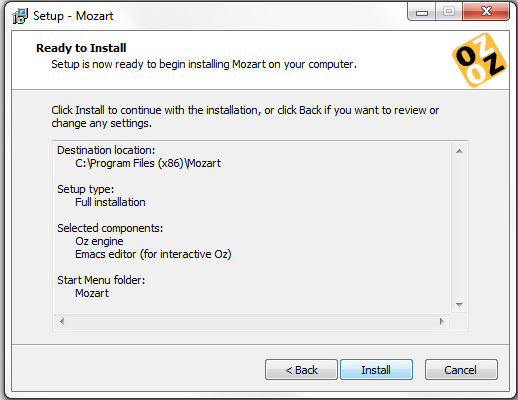
Step 4 : You're done !
Some tips concerning frequent problems:
- All systems:
- Check there are no Unicode characters in paths.
- Windows:
- "error in process filter: make client process failed: permission denied" may mean you have a firewall problem.